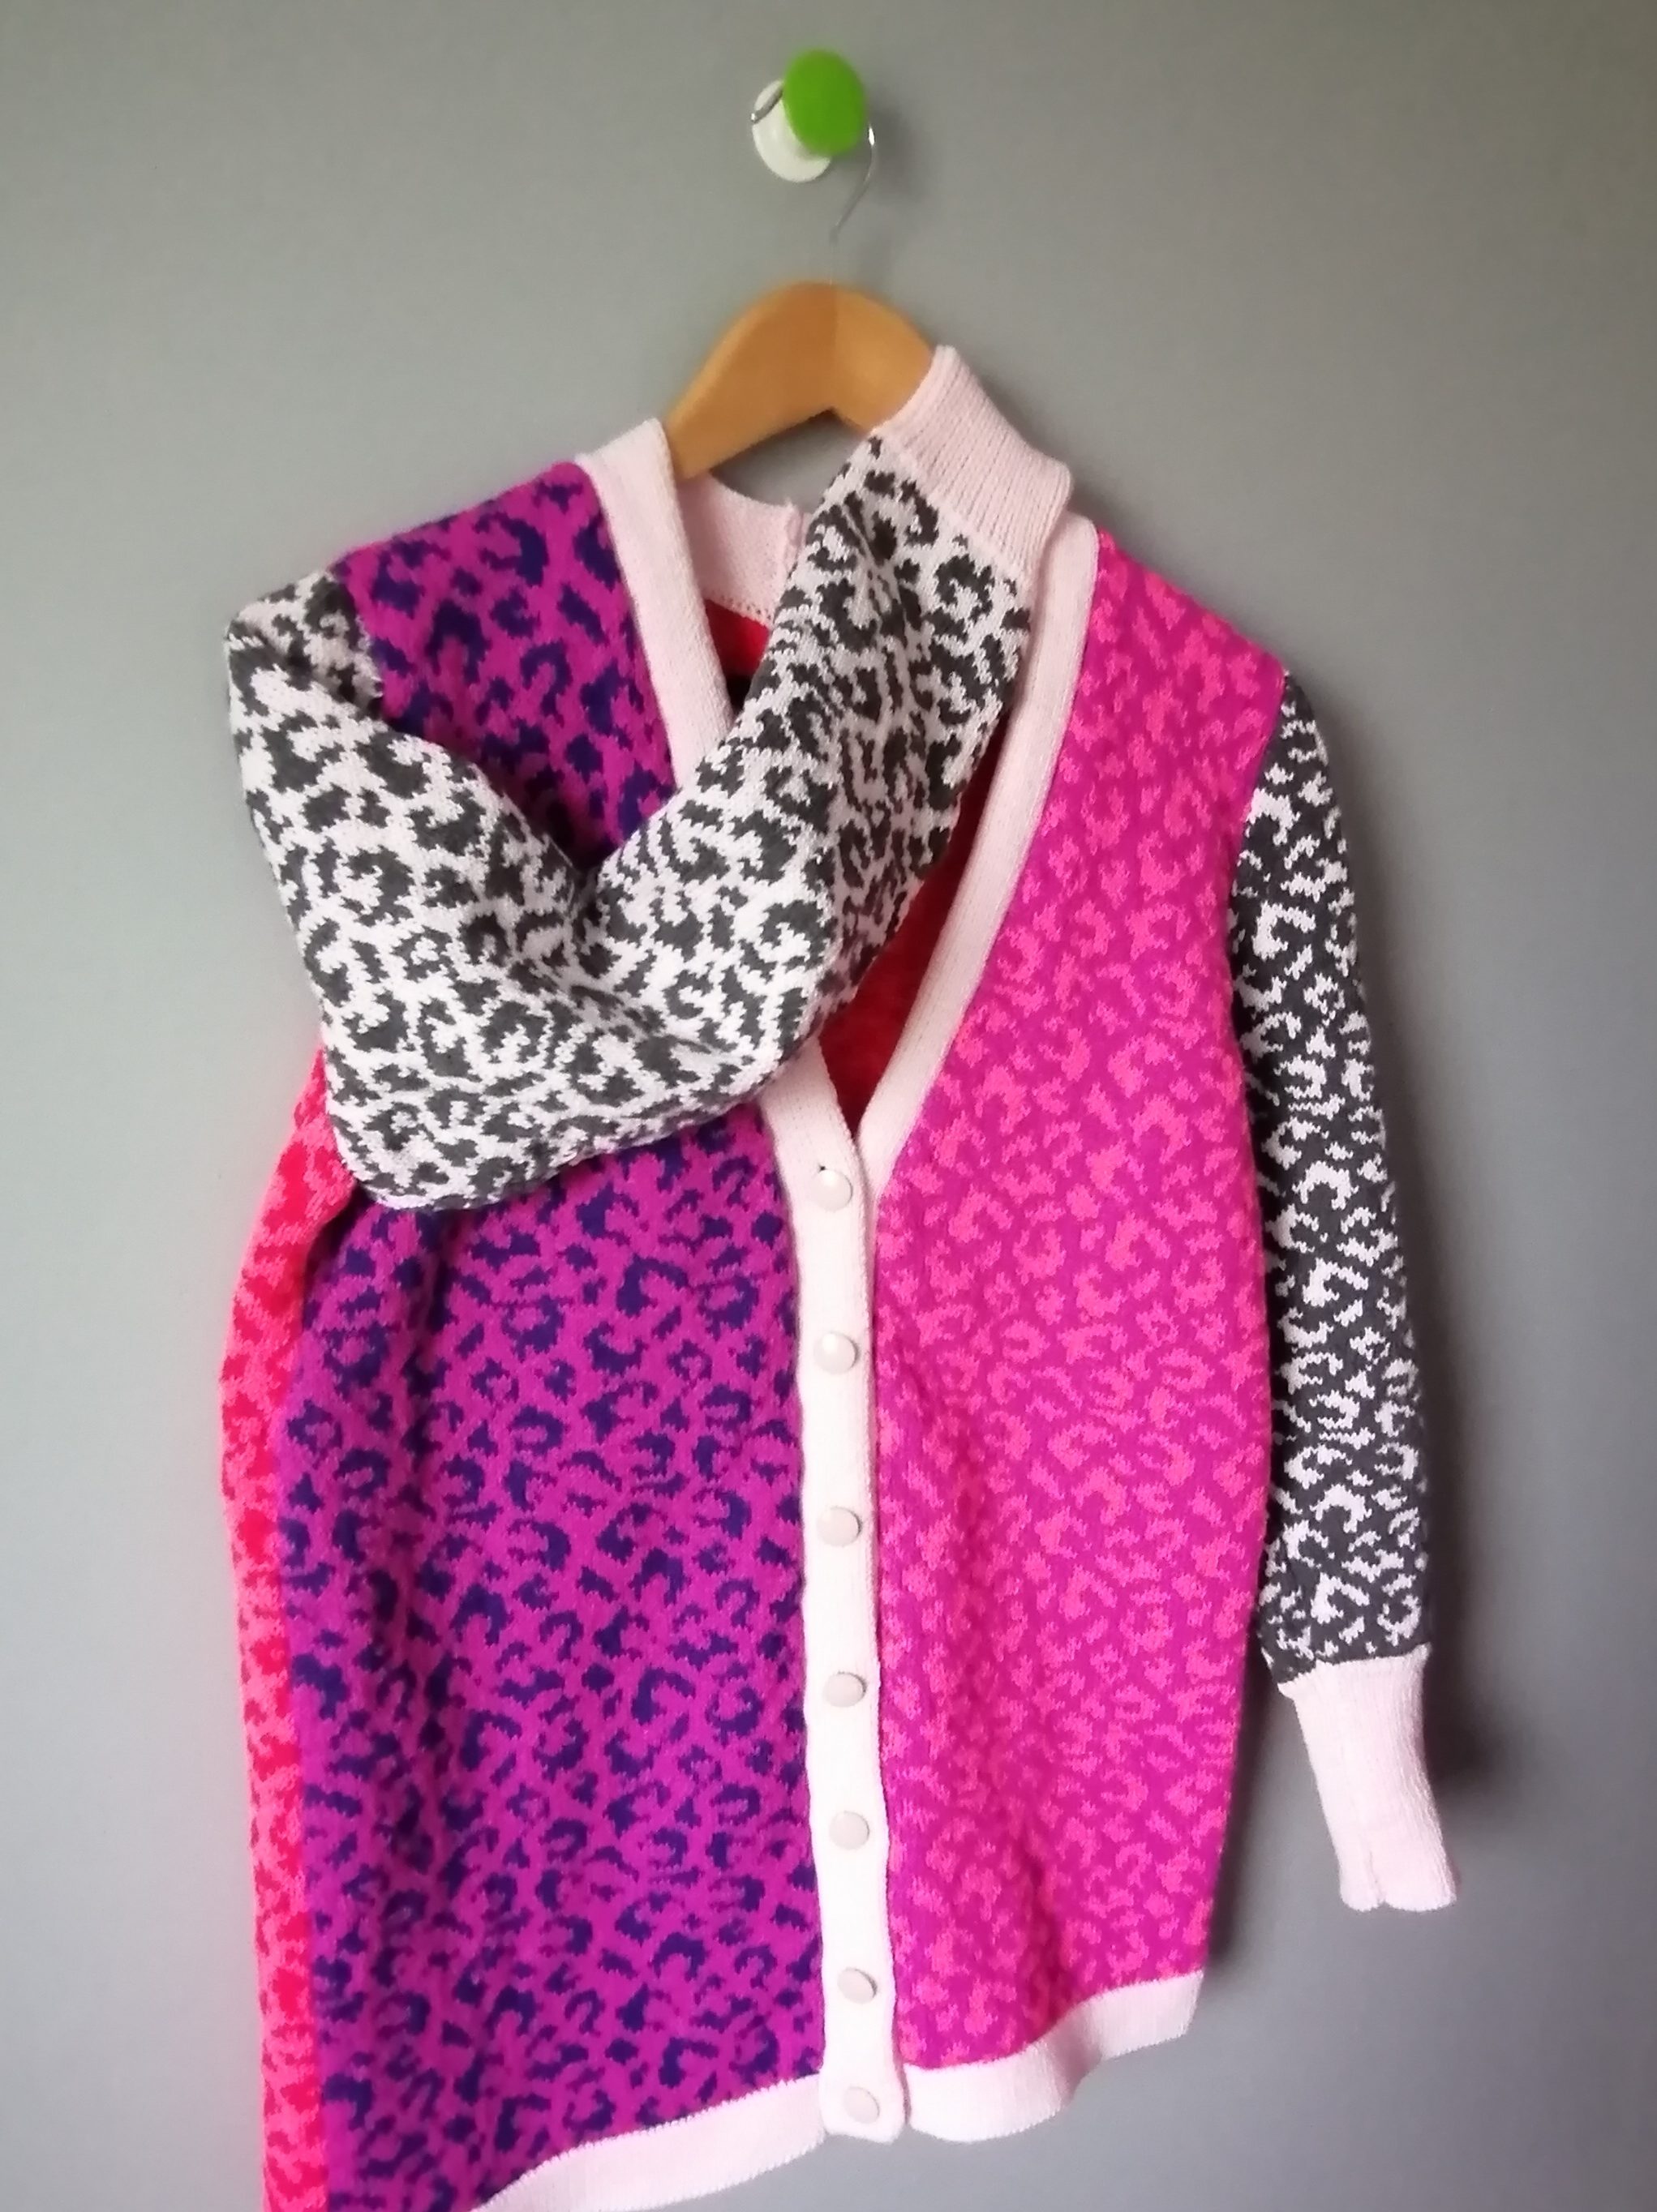
Aran improv vest

I started an Aran vest in December, no pattern – just picked some stitches I liked and set to work on a wearable swatch!

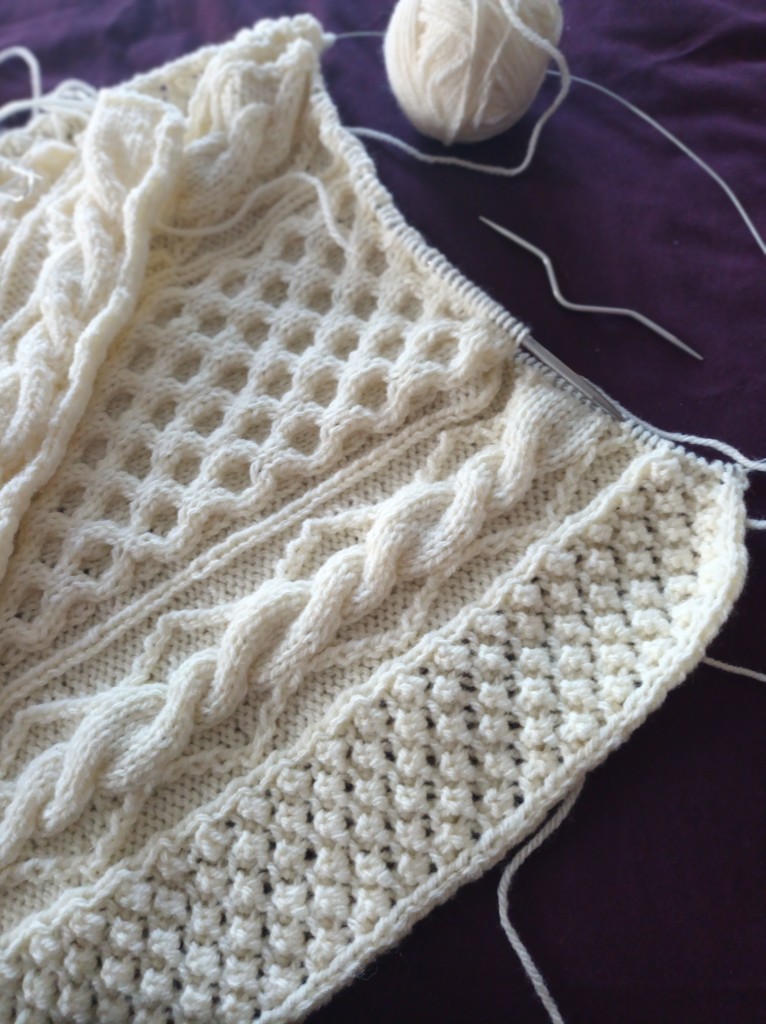
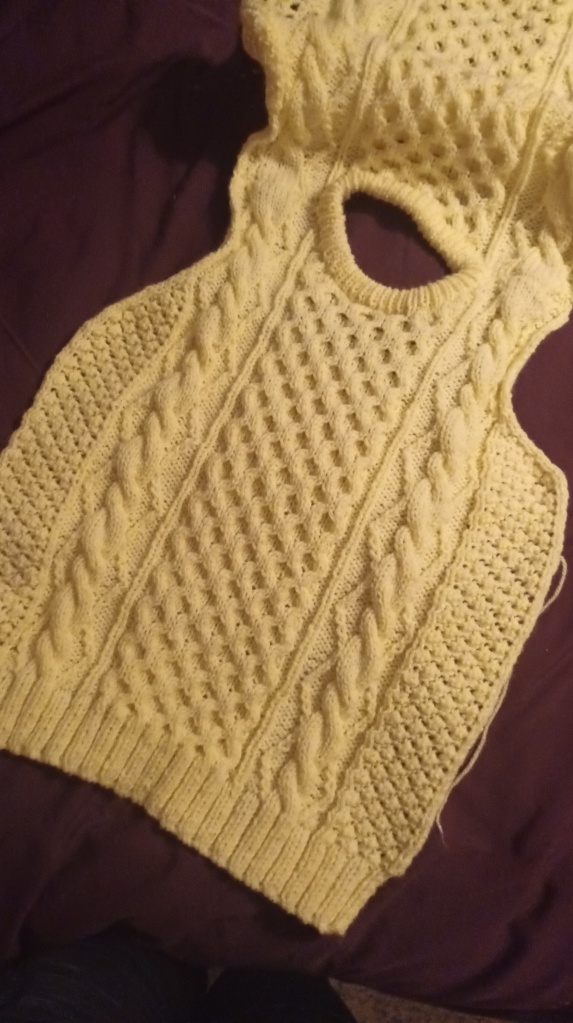
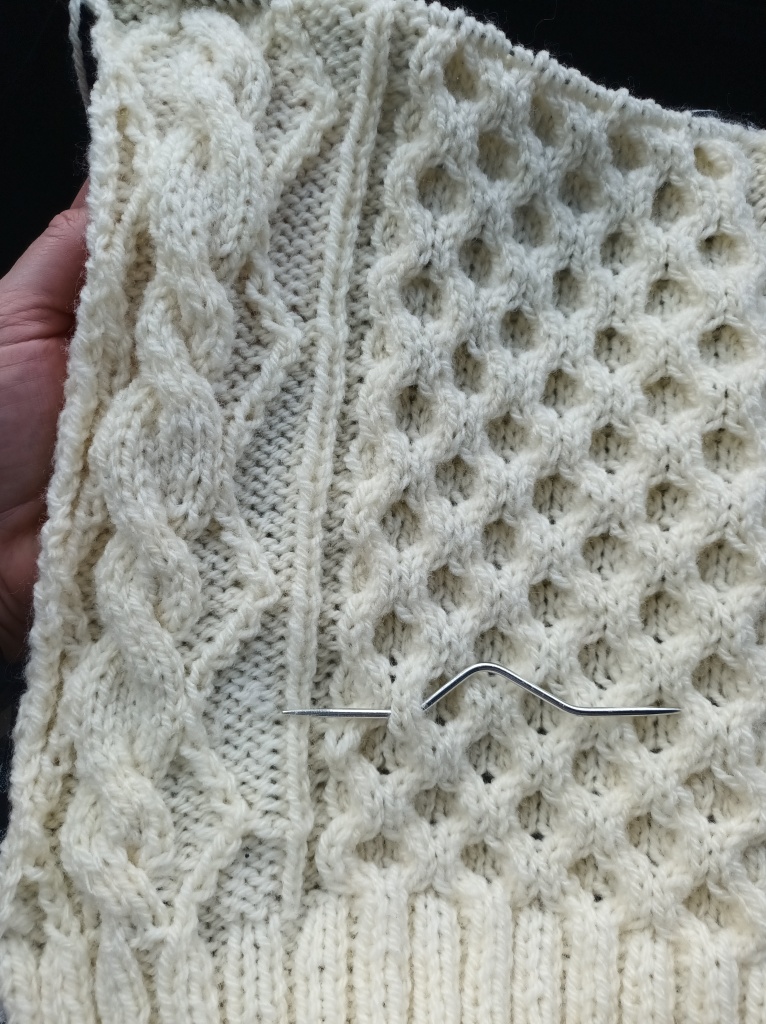
The first panel was for the back, with a honeycomb stitch centre and diamond cable panels on either side. Using aran weight yarn and 5mm needles. 2×2 rib along the bottom edge.

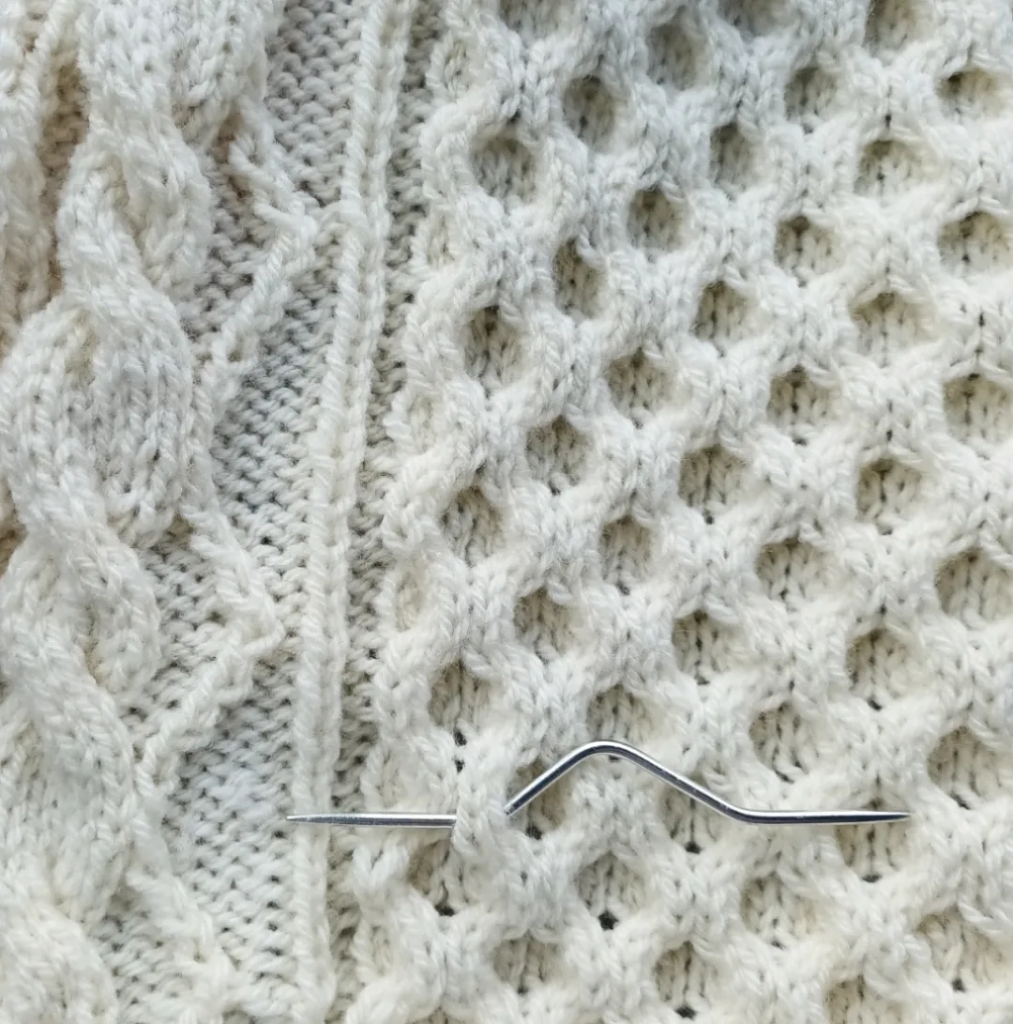
The tension is a little uneven and I had a few mistakes when I got distracted by the TV! I got pretty fast at fixing the mistakes after a while, undoing only the relevant stitches and working back up:

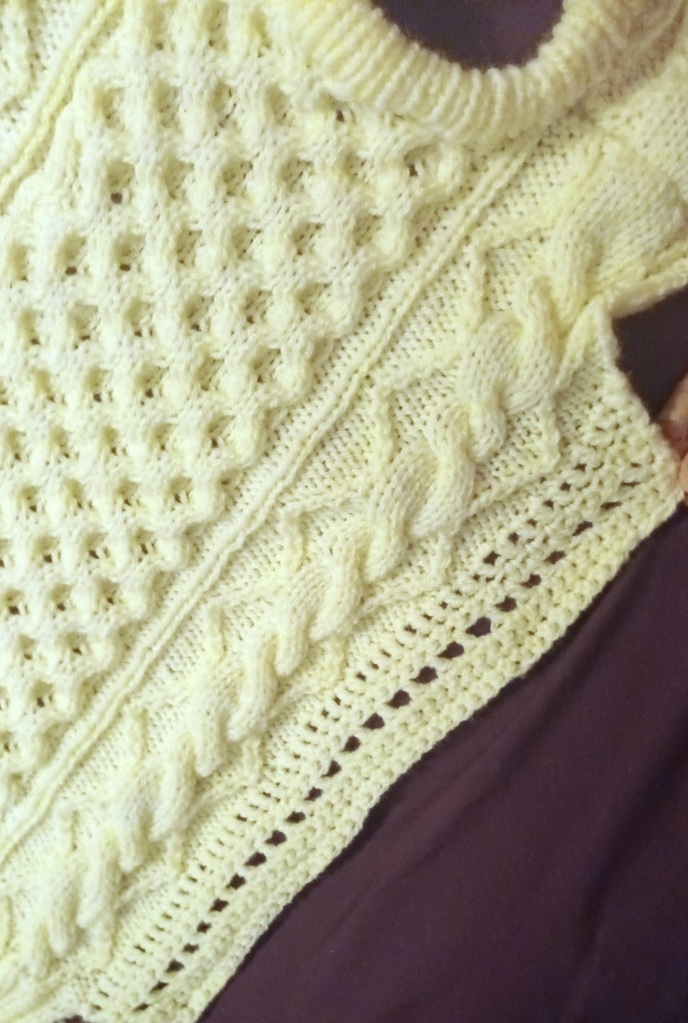
The back panel was narrower than I needed, so for the front piece I added a blackberry stitch panel at either side:

I tried it on along the way to figure out the armhole shaping :

I then joined the panels at the shoulder using a three needle bind-off, the collar is a doubled band of ribbing.

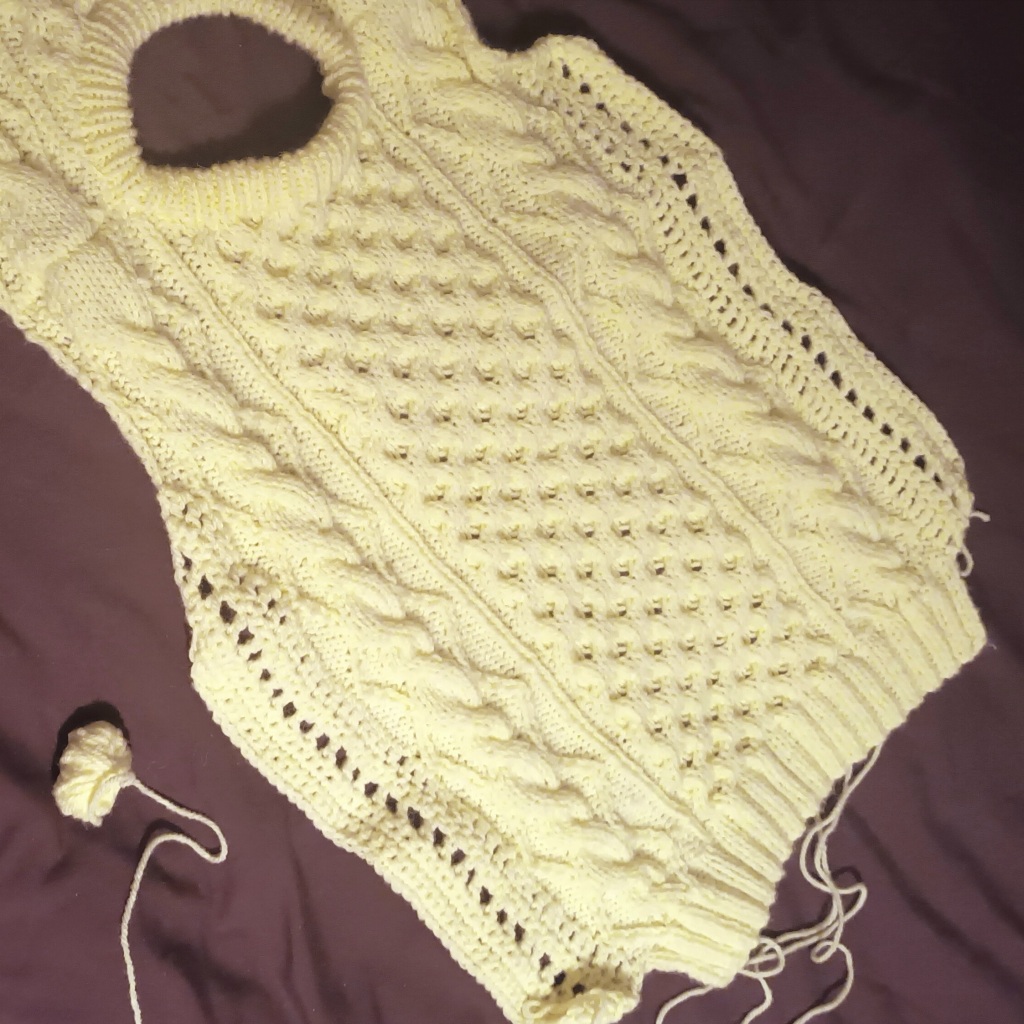
To increase the back width, I added freeform crochet panels.

Back panel with sides in crochet

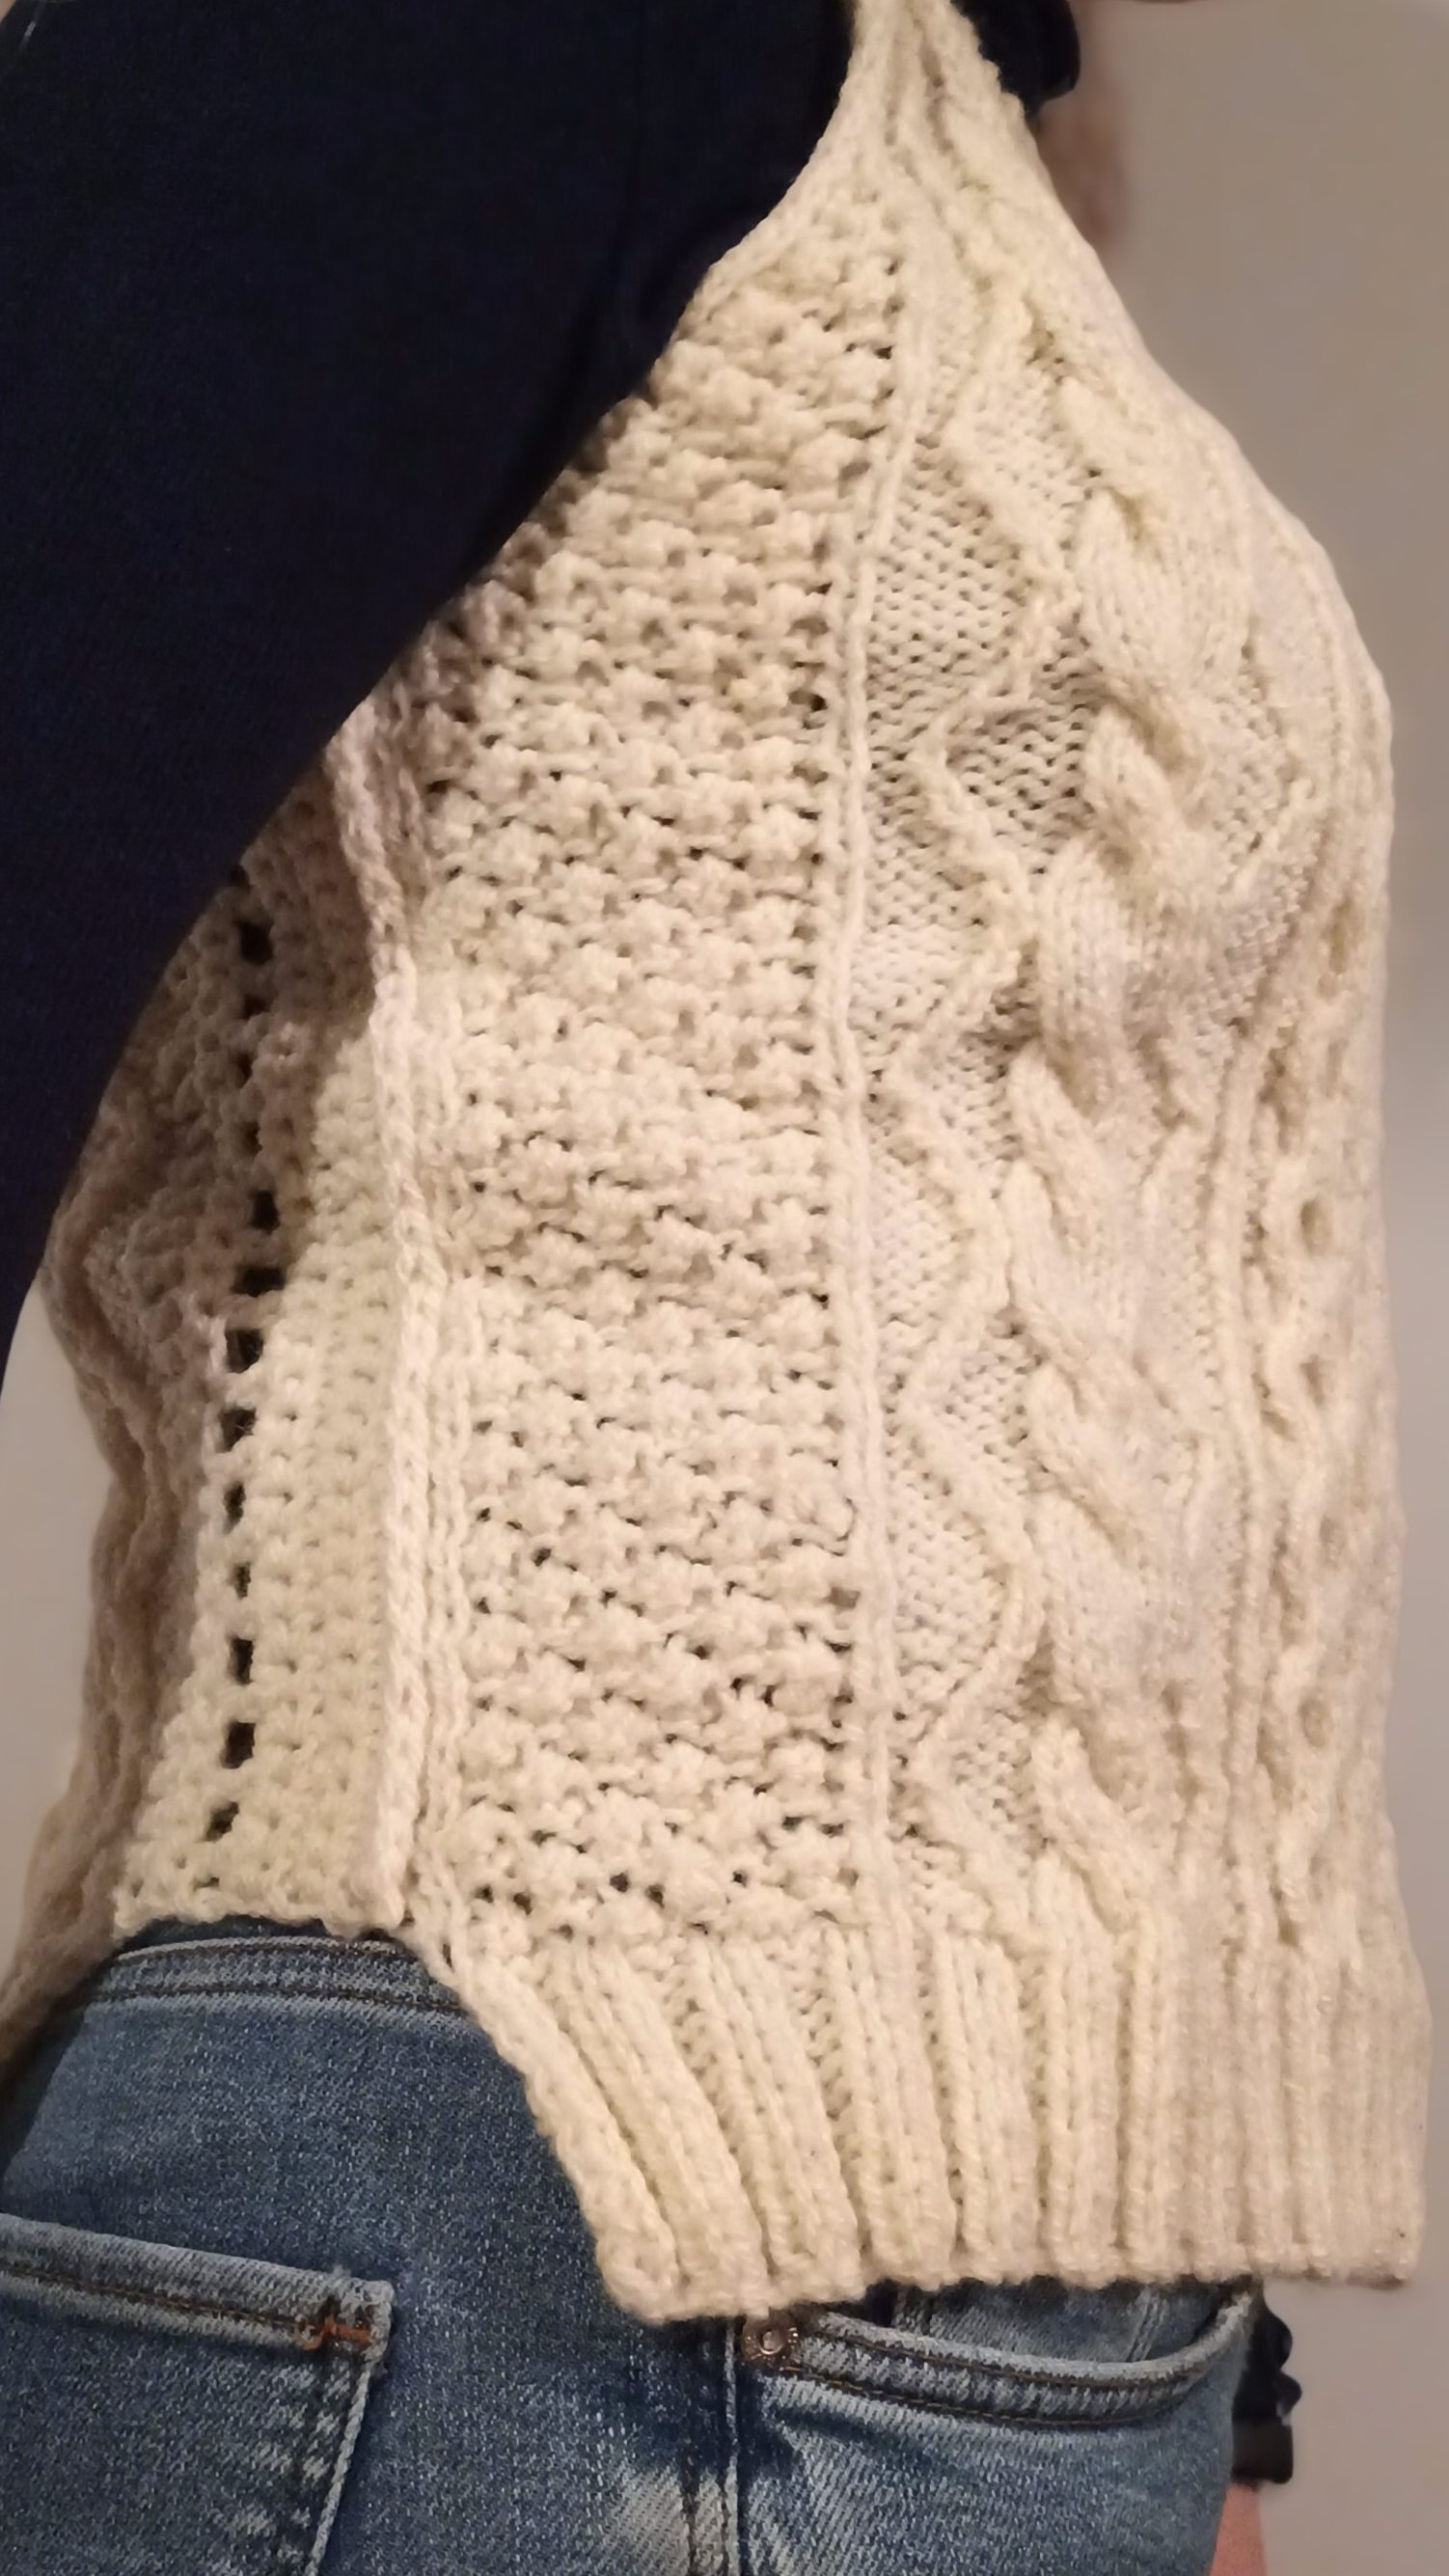
I didn’t extend the crochet to the ribbing, I liked the look of the shorter side panel.

It fits fine, but I’m a bit meh about it. It’s wearable, but I think I’d rather a looser fit.

A good friend tried it on, and it had more wearing ease. She loved it, so I gave it to her! I have no interest in ripping back my knitting, I’d much rather it was being worn, and this friend is very knit-worthy.!

I have no plans at the minute to make another one, but I have plenty of this wool-mix aran left if I change my mind.

I’d like to try a nice cosy jumper using a mix of aran knit and crochet. I’m finding lots of inspirational pieces made by the designer below:

I’ve started on some new sewing projects, so it might have to wait until next Winter.

I bought some new fabrics last year and I’ve started on Summer sewing, so will hopefully share it soon!

Making 2022

Hi there, I hope this year has been kind to you all. Although it’s December, I’m not furiously making Christmas gifts! I made something lovely for my Mother, which was finished weeks ago, but otherwise it’s been a slow year for making.

A Burda coat, using fabric that I’ve had for years and my Mother admired recently. I think it might be too pastel for my colouring, but it should suit her. It’s her Christmas surprise!

It took about 14 hrs – which was broken up into an hour or so in the evenings after work. I was pleasantly surprised by how easily it came together.

Some in-progress pics

I’ve also been knitting … no proper plan. Sometimes it’s about turning restless energy into moving needles.

Normal life paused this year, and things were upside down and inside out for a while. I took a while to start making again. I’m handknitting an aran type vest for myself:

I had closed the side seams with some crochet panels, but I’m not happy with the fit so I’ll fix it over Christmas.

I learned a new technique on my knitting machine, it’s knitweave and gives a lovely drapey fabric. The machine knit community has been so worthwhile to join. I don’t participate as much as I’d like to, but the video resources alone are really helpful.

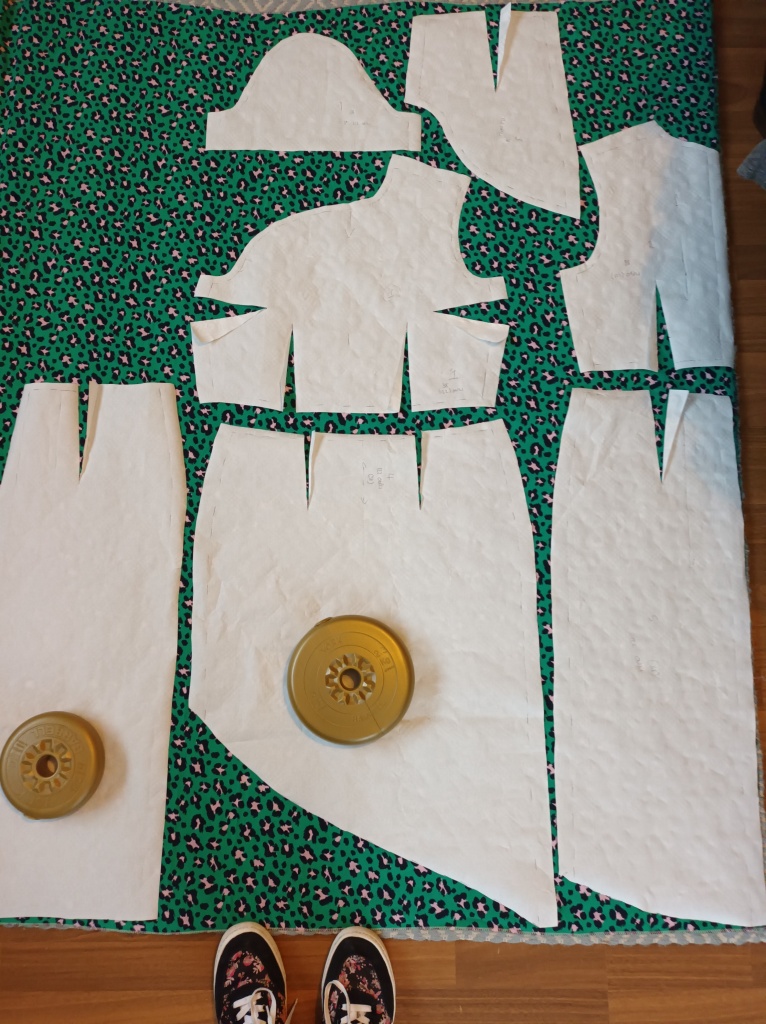
I cut out a burda dress in this green funky fabric, it’s half sewn!
I doubt that I will sew much before the year ends, but that’s OK- rest and time with family is important too!
Nollaig Shona dhíbh go léir (Happy Christmas)

Machine Knit Update

Hi there, long time no post! Making has been a bit hit-and-miss around here, but looking back through my photos, I realised that I still managed to make alot in the last year. Here’s a quick roundup of some of my knitting:

Made with Knitmaster 360, punchard 3, mixed sock yarns and patience!

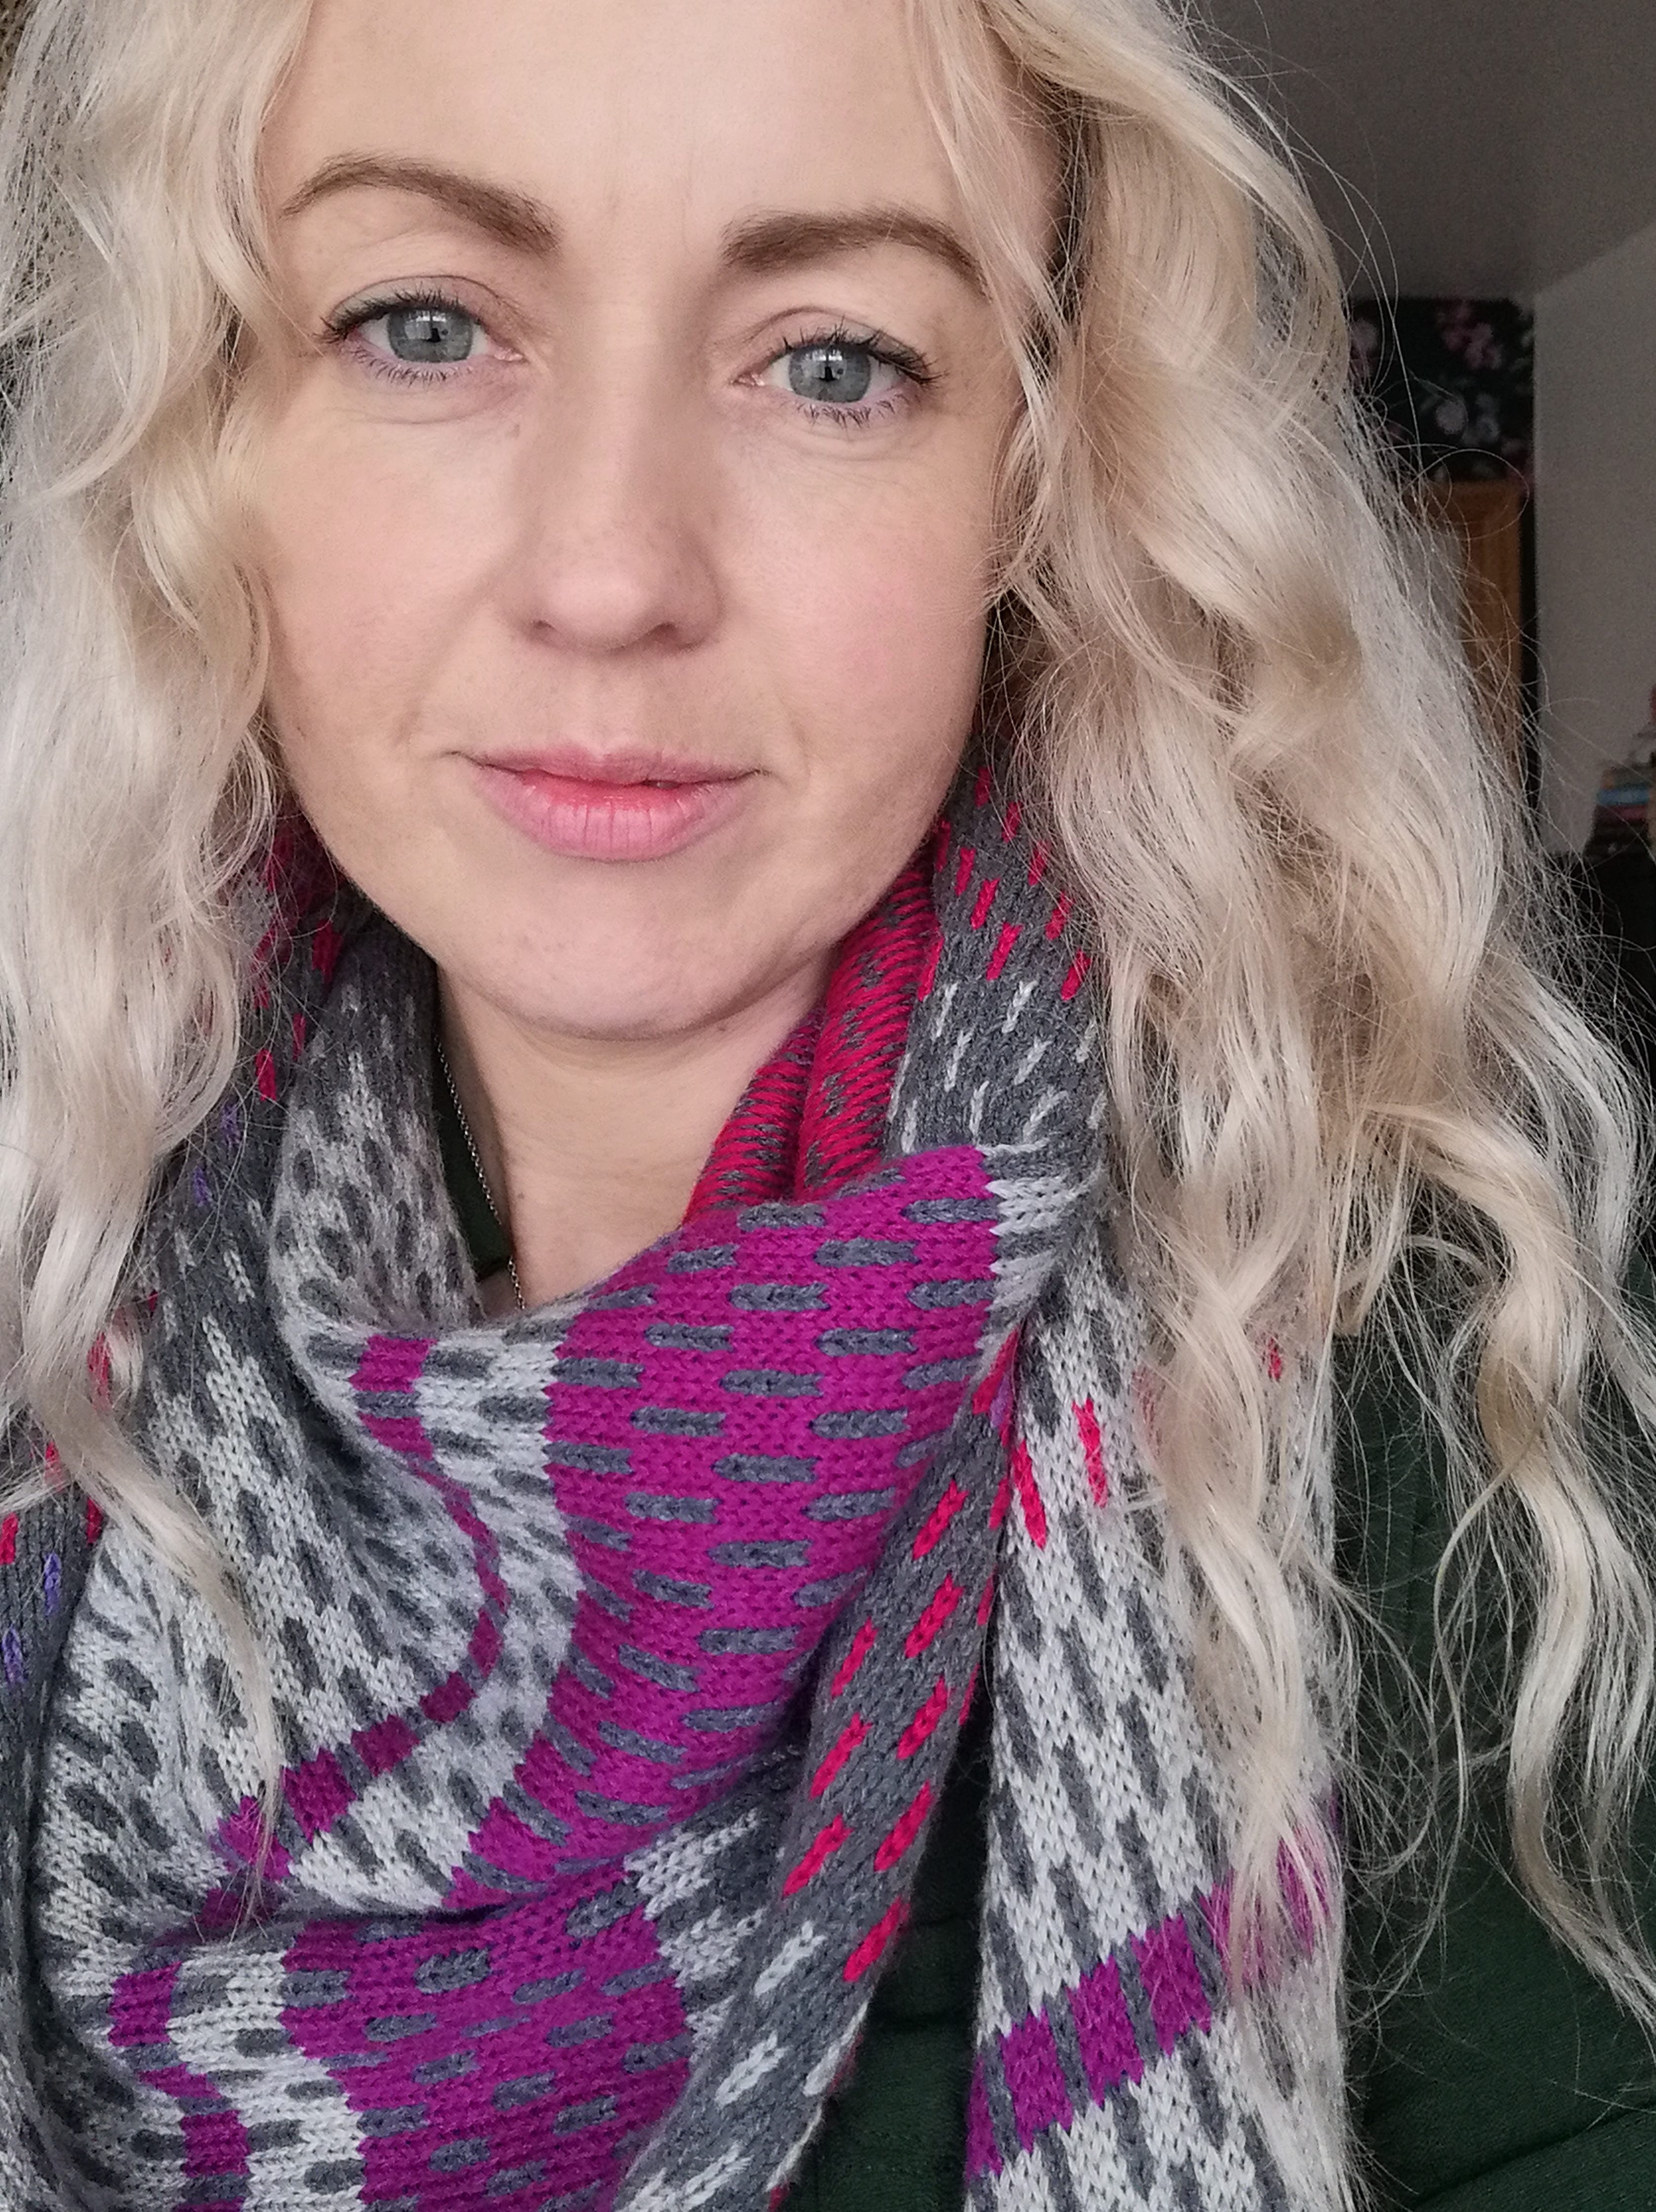
I based my scarf on a picture of a shawl that was being sold as a kit at This is Knit – a Dublin yarn shop.

Triangular scarf made with Knitmaster 360

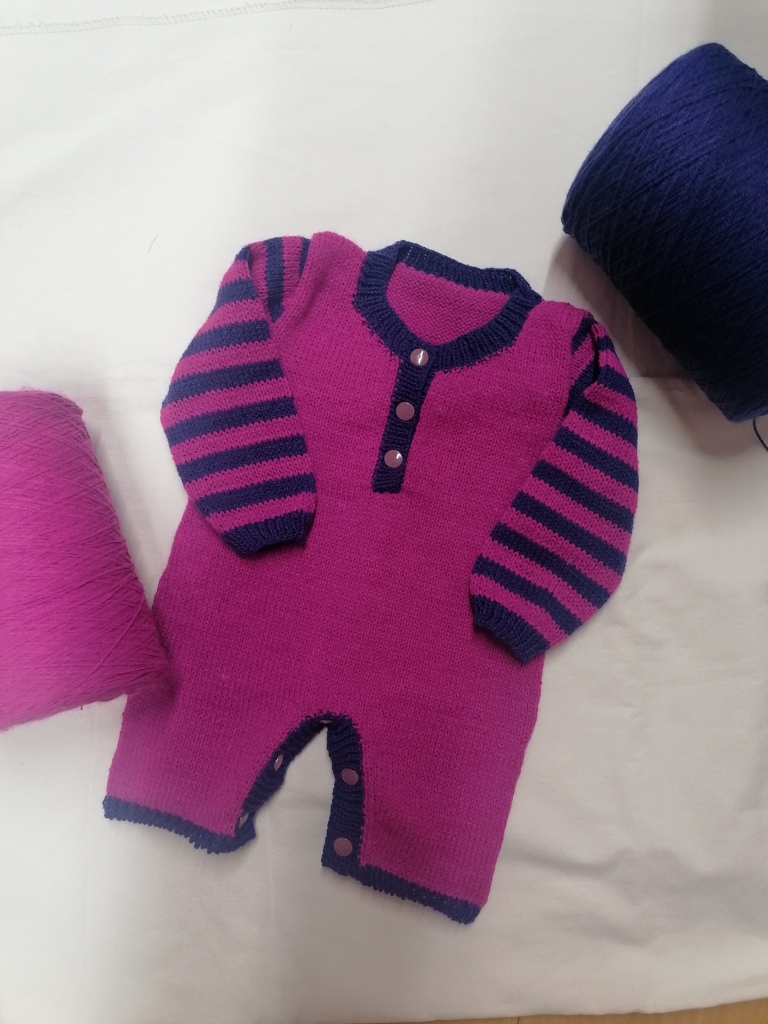
I also wanted to try smaller projects to practice the different techniques, and successfully adapted a hand-knit pattern to make this baby romper:

Baby Romper, 4ply on Knitmaster 360
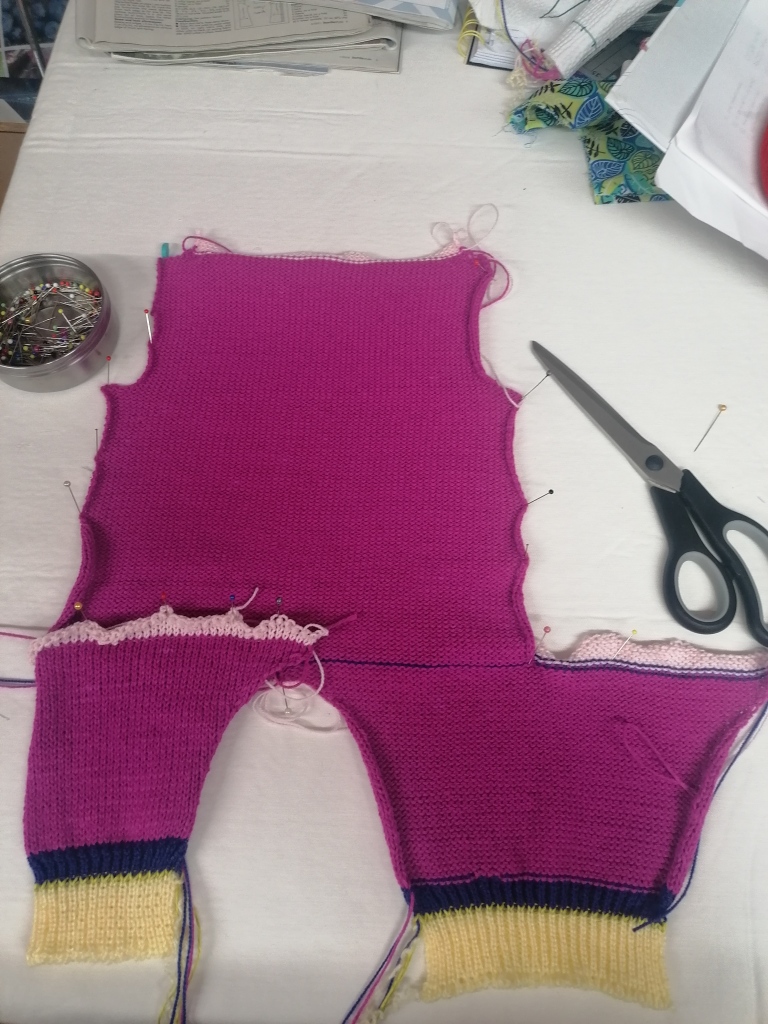
The legs were made separately and rehung on the machine to knit the front and back separately as below
Back legs rehung on machine bed.
Popper snaps used for closures.

In hindsight I think regular buttons and buttonholes would work better – The knit could get pulled out of shape from pulling on the snaps.

My machine knitting has been improving slowly and I got ahead of myself and started imagining all the things I could make if I had a machine that took hand knitting yarn. Luckily, for under 50 euro – I found a secondhand machine that can take heavier wool (dk and chunky). It’s called a Zippy90, and has 90 needles….hence the name!

Twin Cardis, not quite perfect, but still cute!

I used acrylic dk and the tightest tension to make these baby cardigans, again from a hand-knit pattern.

I am also using it to finish off a chunky cardigan for my daughter. I knit the body by hand and the sleeves by machine.

I used the pattern below from Petite Knit.

Almost finished… it was originally meant to be for Xmas…oops!
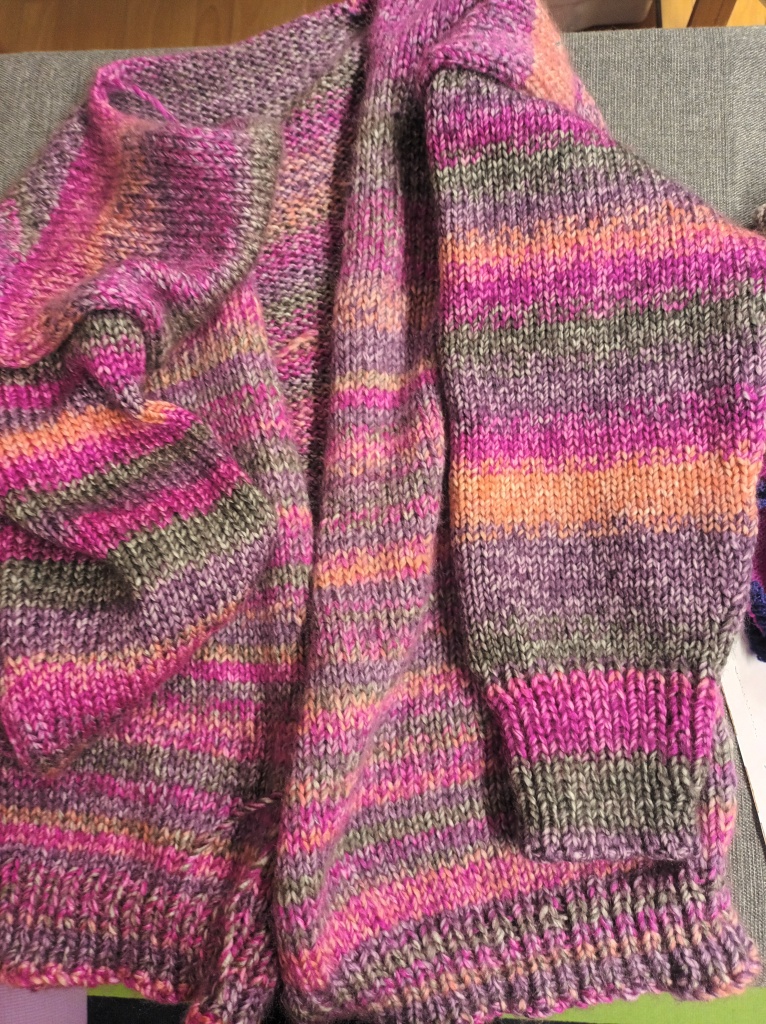
Chunky cardigan being made with Hayfield Bonanza yarn.

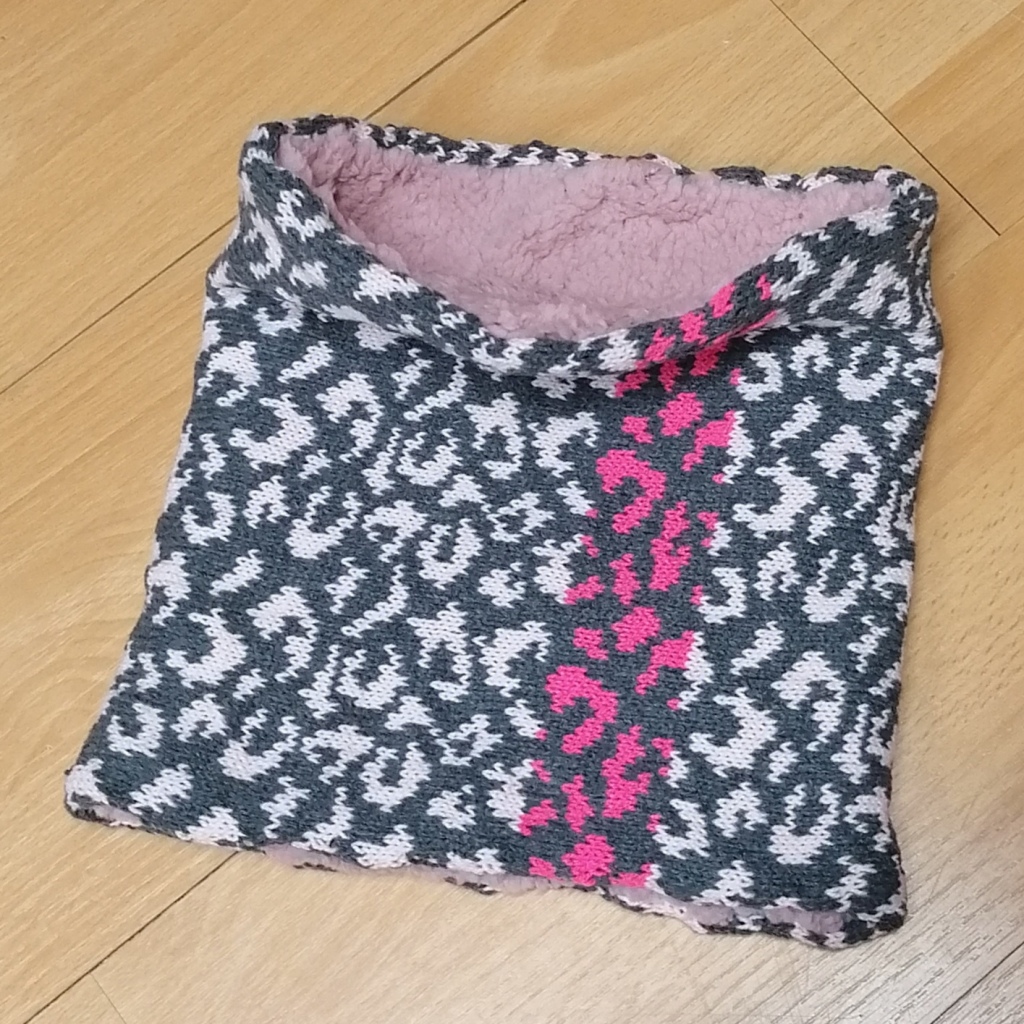
And sometime last year, I made a neckwarmer as a gift for a friend.

Acrylic 4ply
Lined with cosy fleece.

I used the same punchcard design to make myself a cardigan, which might get it’s own post another day :

My kids won’t lose me in a crowd when I’m wearing this! (Even though it might make them want to 🤣).

Sin a bhfuil for now x

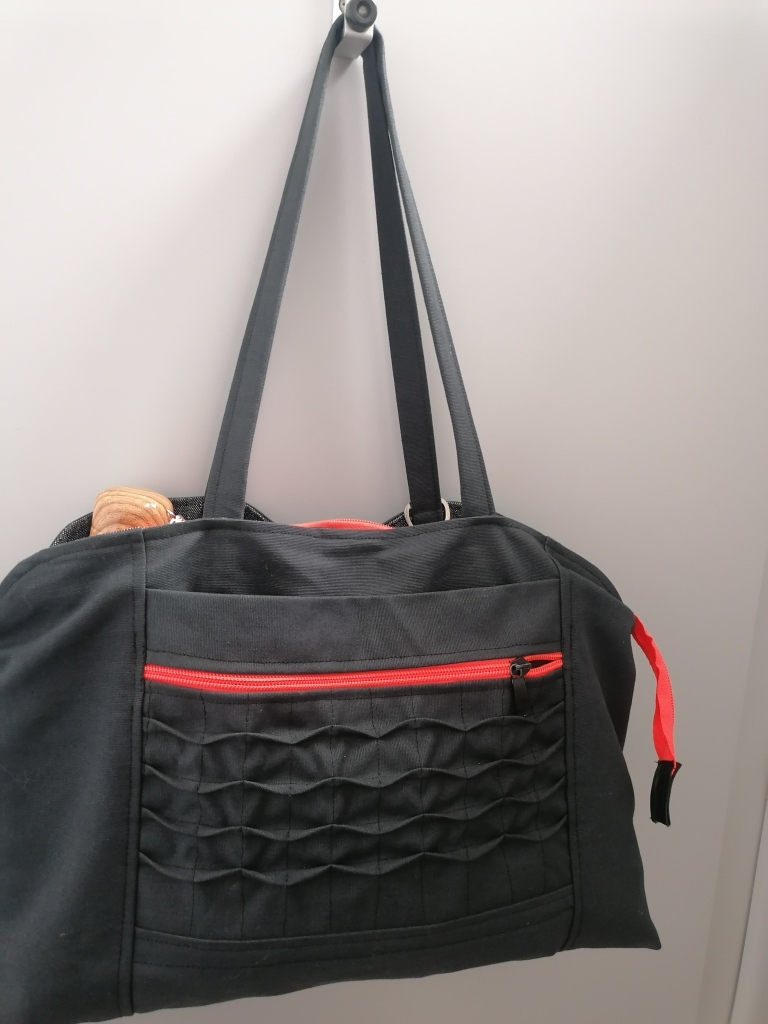
New Bag!

My handmade bag.

It’s been a while, so here’s some sewing at last!… I made myself a bag, and it started with a piece of textured fabric that I made about 2 yrs ago.

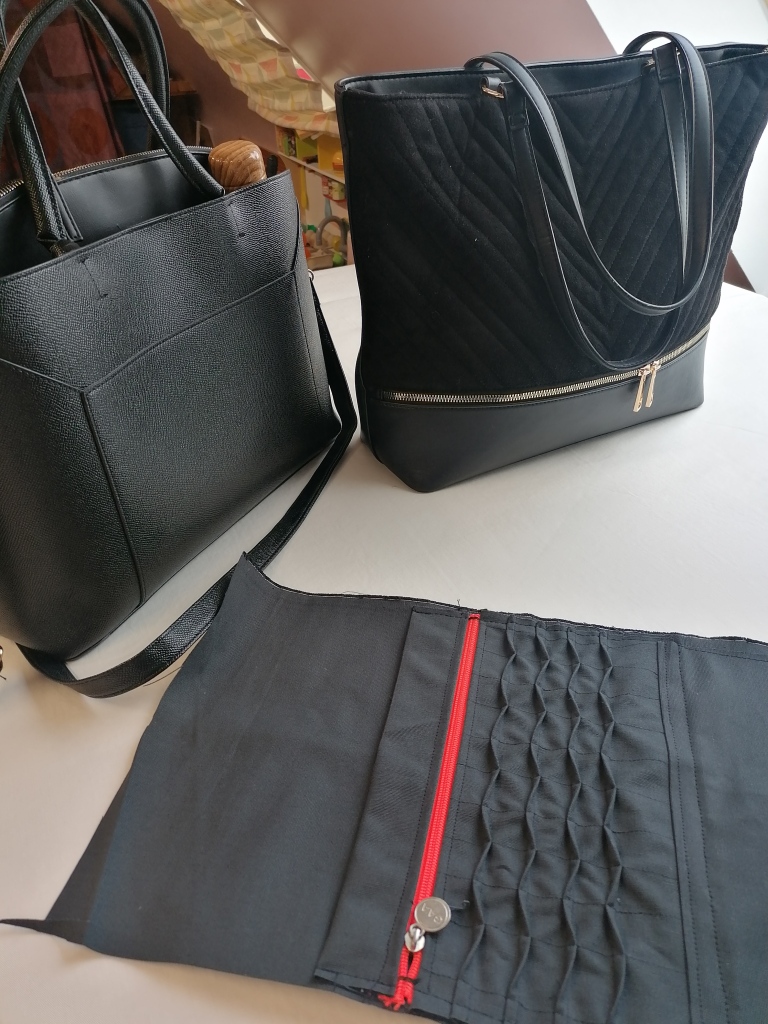
I added texture to some plain grey cotton canvas that I bought at IKEA. A few lines of pin tucks, sewn down in opposite directions. Which I then made into a pocket, and this became the centre panel for my bag.

Centre panel with zipped pocket

Bags are one of my favourite things to make because they can be as simple or as complicated as you want to make it. I like to plan how the bag will be used, so that I know which pocket will hold my phone, and I wanted to fit my lunch in the centre bag and have room for my flask or water bottle.

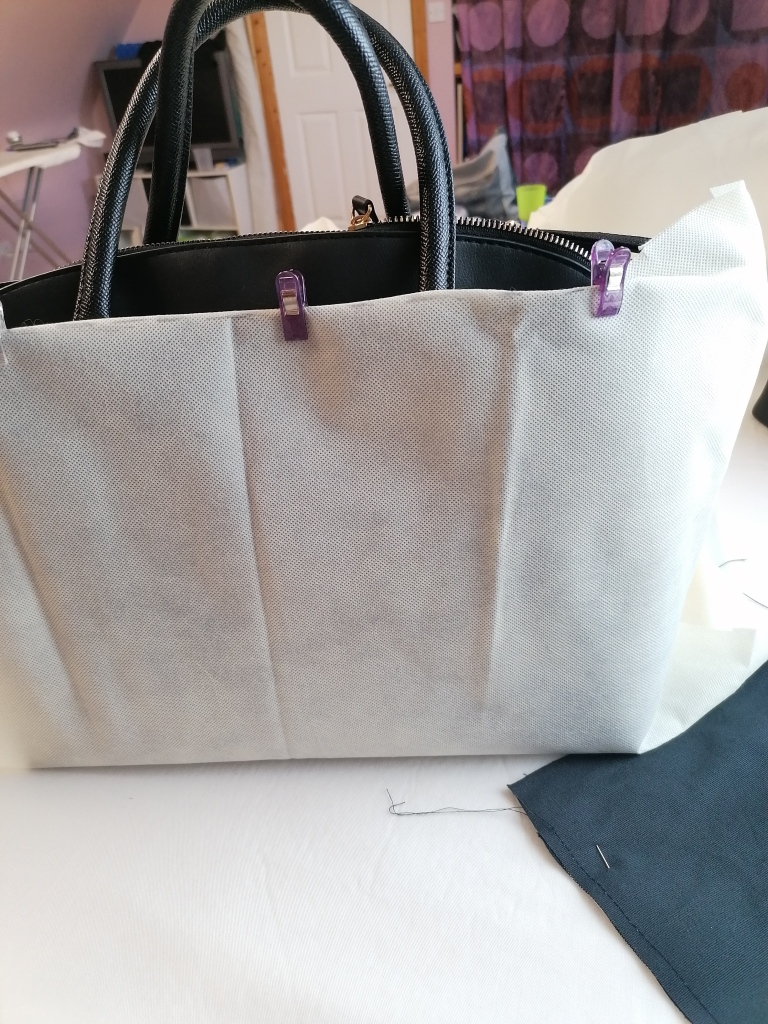
I took a pattern from a shop bought bag, after trying out the panel for size:

Deciding which bag to copy!

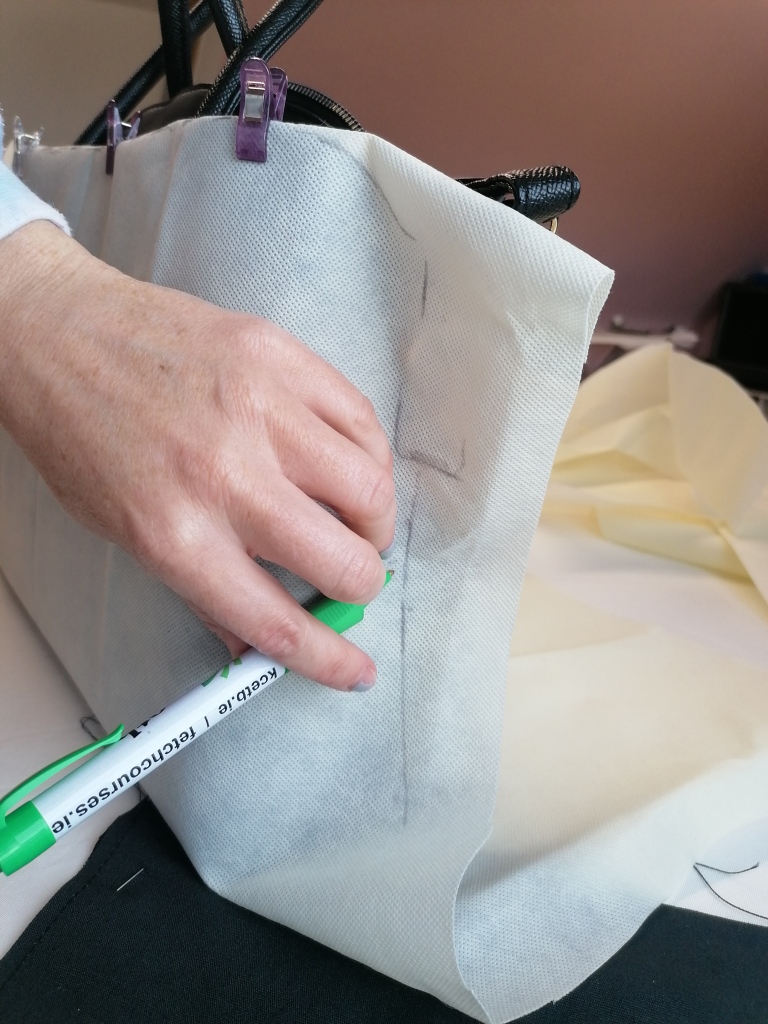
I wrapped some fabric around the bag and traced off a pattern.

Then assembled the pieces:
Pieced front panel

The canvas has a very tight weave which was difficult to sew, and impossible to get even topstitching. So I stopped trying and improvised instead:!

Back pocket with wavy topstitching

The components ready to be joined and straps attached:

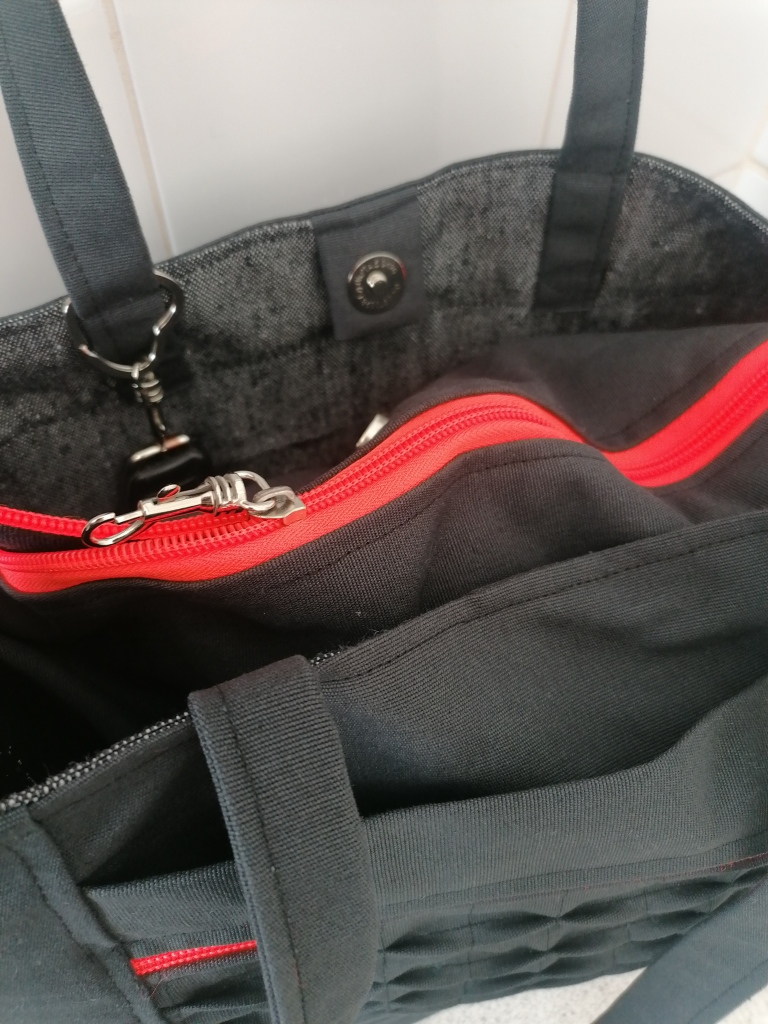
It has an inner bag and an outer bag which are joined at the top edge of the side seam and with snap tabs at the centre front and back. Close up picture below –
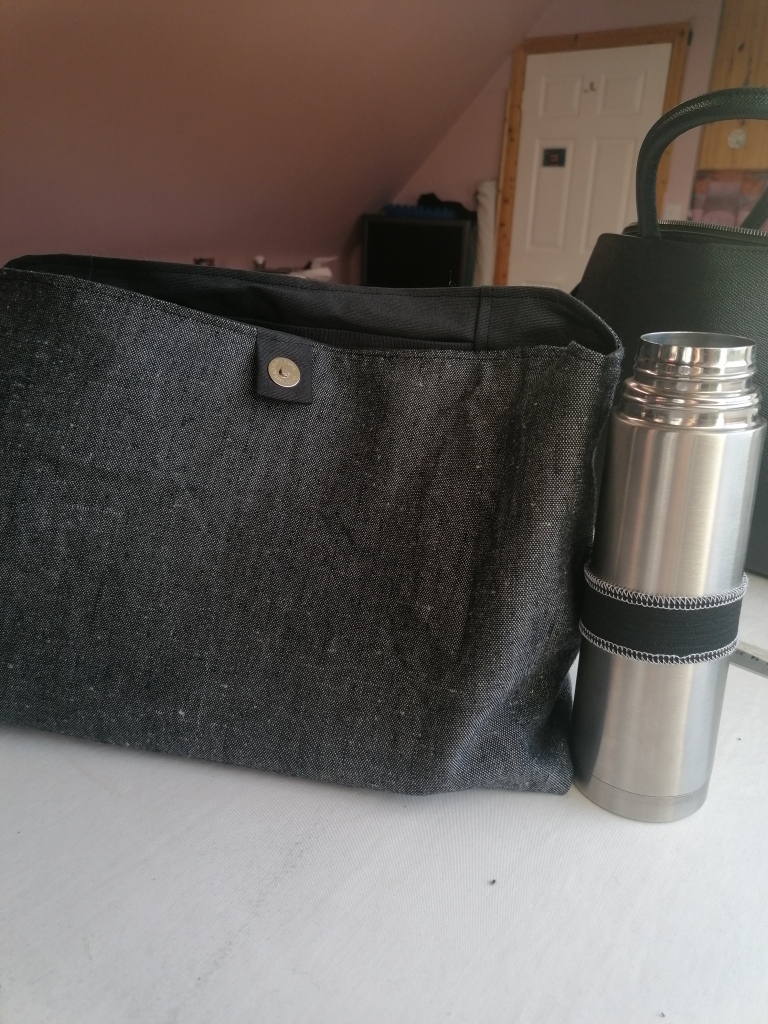
I added elastic loops to the lining of the outer bag so that a flask or bottle could be held upright.
Upright bottle…success!!

I also changed the silver zipper pull at the front, as the zips were salvaged from a child’s backpack and had GAA embossed on them 😂(Gaelic Athletics Association)

Machine knitting update

Picture heavy post to follow! ….. I’ve been on a steep learning curve with my knitting machine, and it’s all starting to click. I can cast on and do various things like ribbing or fairisle swatches without having to take out the manual every time!

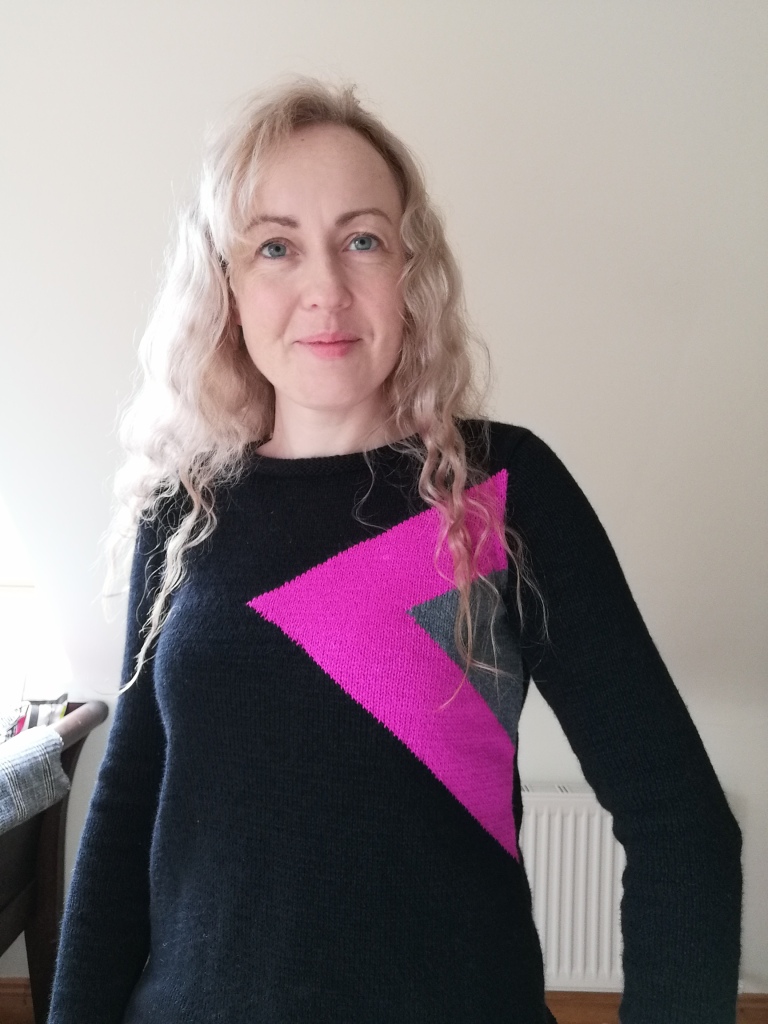
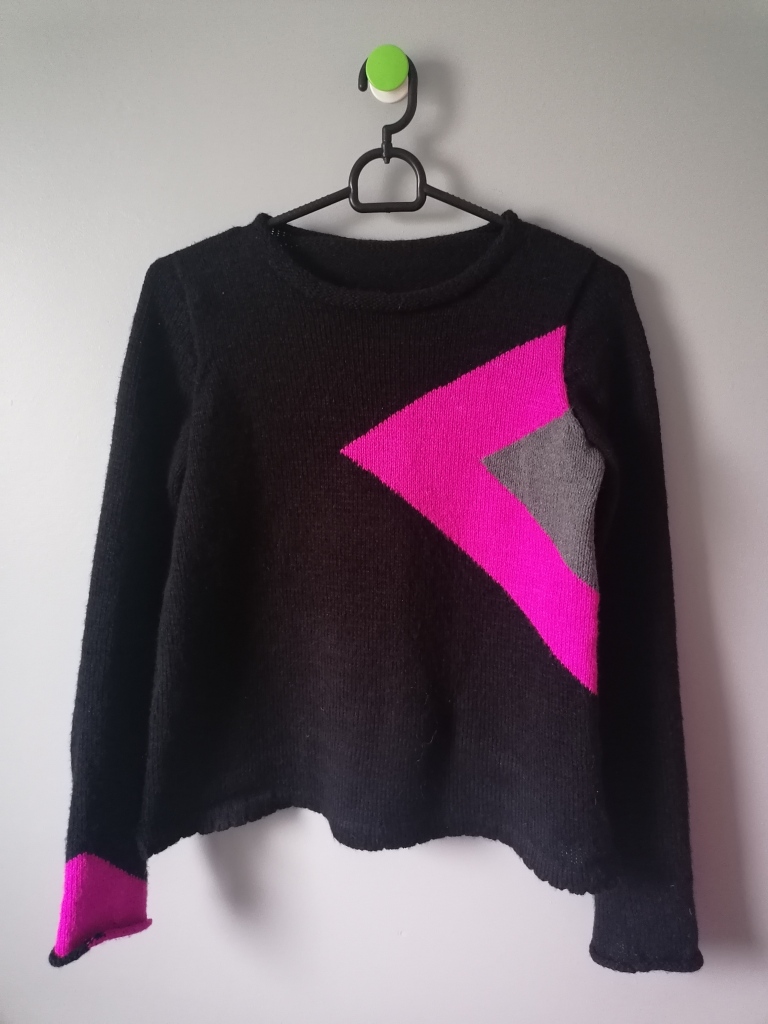
First machine knit jumper!

The machine knit community had a month where we converted a hand knit pattern to machine and I used a pattern from Amy Milller, it has a fitted sleeve and a slight flare to the shape.

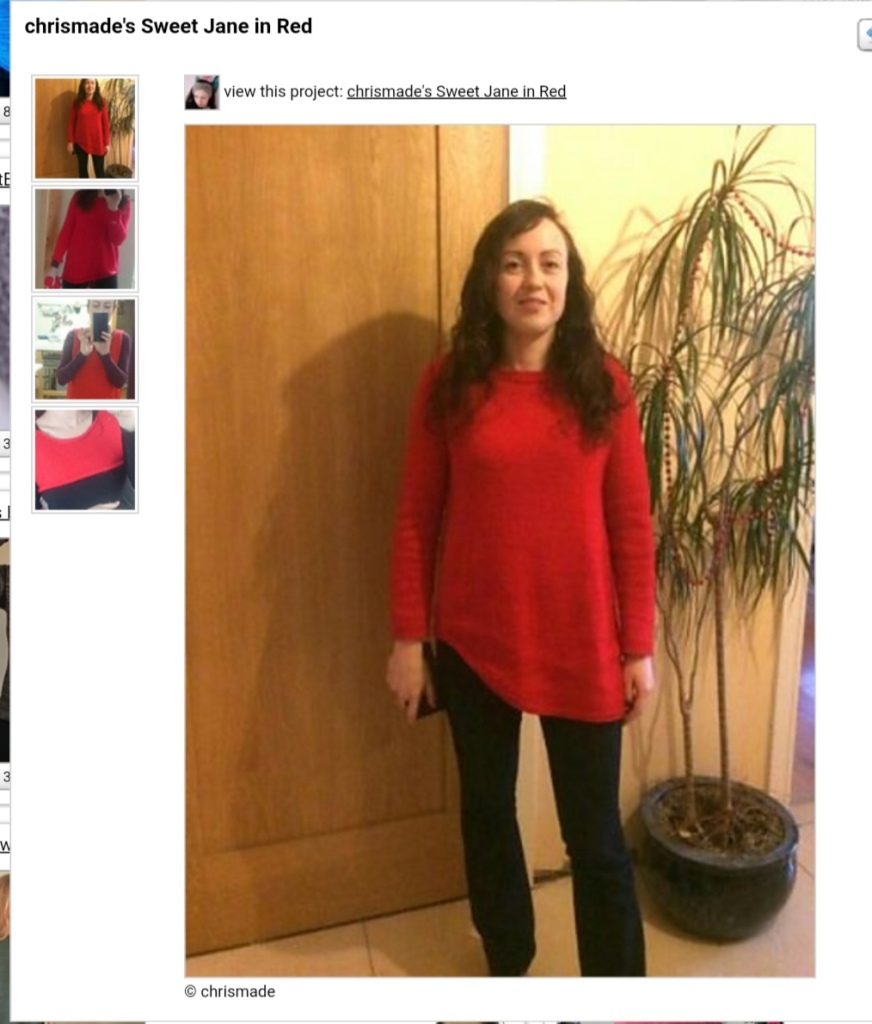
My handknit version from a few years ago is below, I didn’t go with the longer hem this time.

Hand knit Sweet Jane by Amy Miller.

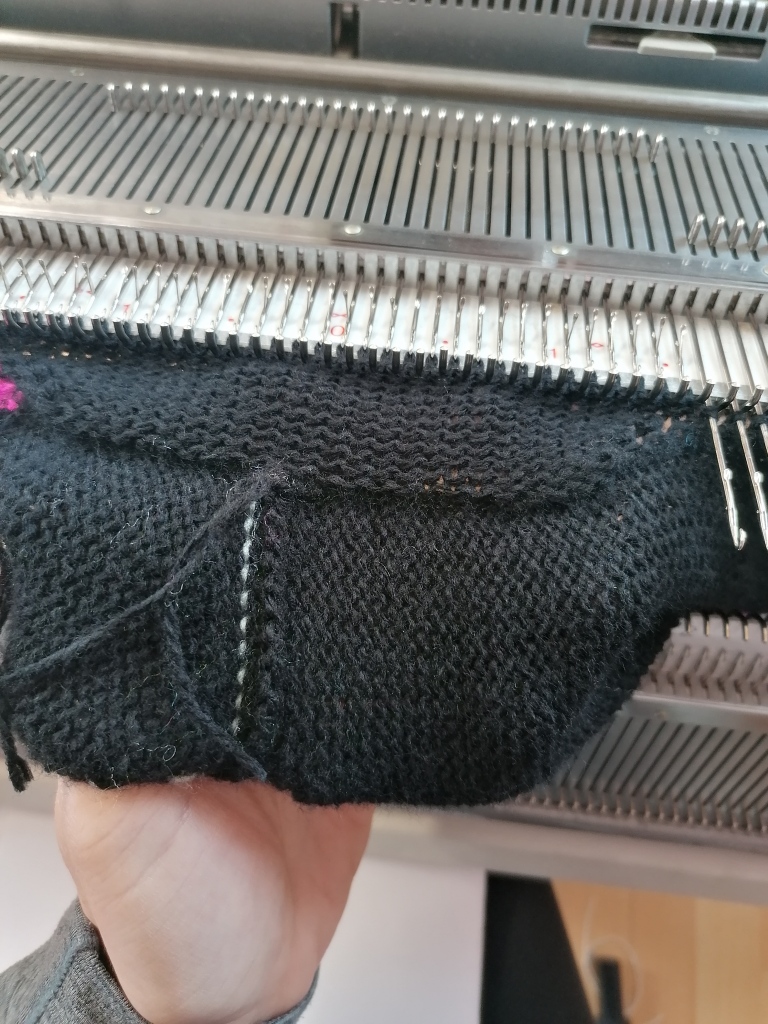
I was able to match the stitch gauge of the pattern but had to make some calculations for the row gauge. Which wasn’t too difficult. First I counted the rows between increases, worked out how many cm it should measure and then figured out how many machine rows would give me the same cm measurement.

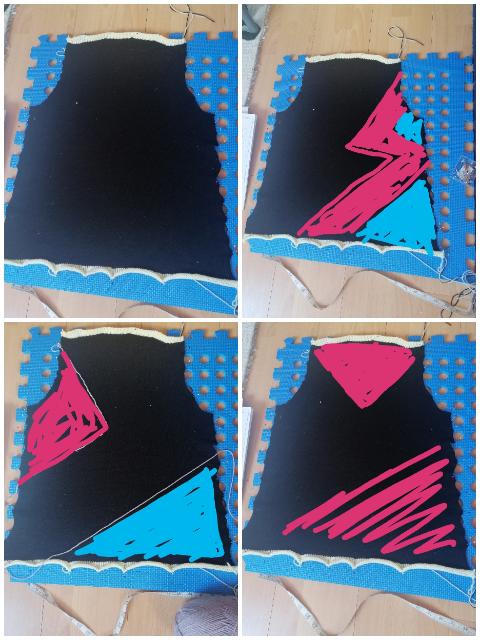
I made the back and used it to check my calculations. Then I made some mockup designs on my phone for the front intarsia:

I didn’t draw a chart for the design as it was simple angled lines. I took note of the rows where I would begin and end, and then hoped for the best.

Intarsia on my knit master uses a special carriage, the yarn is laid across the open needles by hand and the carriage passed across as you hold the yarn underneath to give it tension.

I then joined the pieces at the shoulders:

The yellow yarn is waste knitting which gets unravelled once the panels are joined.

Without changing the construction of the handknit pattern, I was able to short row the sleevecap straight into the armhole.

With a machine, all the stitches are placed onto the needles, then the outer needles are held in a non-working position until they are needed.

Short row sleeve cap, the needles on right are in non-working position.

All the needles at work for the rest of the sleeve.

After that I was able to rehang the sides and knit one loosely tensioned row to seam them. Followed by casting off.

I wasn’t confident in hems or ribbing yet so the roll neckline was finished with some loosely knitted rows of stockinette.

I was very pleased to finally get this far..!

The Finished jumper!